
A successful kitchen renovation doesn’t happen by accident—it’s the result of careful planning, smart decision-making, and coordinated execution. Whether you live in San Jose, Los Gatos, Cupertino, or anywhere across Santa Clara County, understanding the full process from start to finish can help you avoid surprises and keep your remodel on track. This step-by-step kitchen renovation guide walks you through each major phase so you know exactly what to expect and how to prepare.
1. Initial Planning & Vision Setting
Every great renovation starts with defining your goals.
Are you updating an aging kitchen? Expanding the footprint? Adding modern storage? Improving flow for a growing family? Clarifying your “why” guides every choice that follows.
In Silicon Valley—where many homes were built in the 70s–90s—common goals include opening the kitchen to living areas, improving natural light, adding energy-efficient appliances, and maximizing storage in relatively compact floorplans.
This is also the phase to gather inspiration, measure your space, and research local design-build firms familiar with San Jose permitting requirements.
2. Budgeting & Timeline Planning
A clear financial plan is one of the most crucial kitchen renovation steps.
In Santa Clara County, full kitchen remodels typically range from mid-five figures to well over six figures depending on layout changes, materials, appliance selections, and structural work.
Key budget categories include:
- Cabinetry (often 25–35% of total cost)
- Countertops and surfaces
- Appliances
- Plumbing and electrical upgrades
- Flooring
- Labor and permitting
- Contingency (10–20%)
Because Bay Area schedules book out quickly, set realistic expectations for timelines. A full kitchen remodel usually spans up to four months of construction after design and permitting.
SEE MORE
3. Design Development
During the design phase, you’ll translate ideas into detailed plans. For homeowners in the San Jose and Silicon Valley area, design-build teams often use 3D renderings to help you visualize layout improvements, appliance placement, storage solutions, and lighting design.
This phase includes:
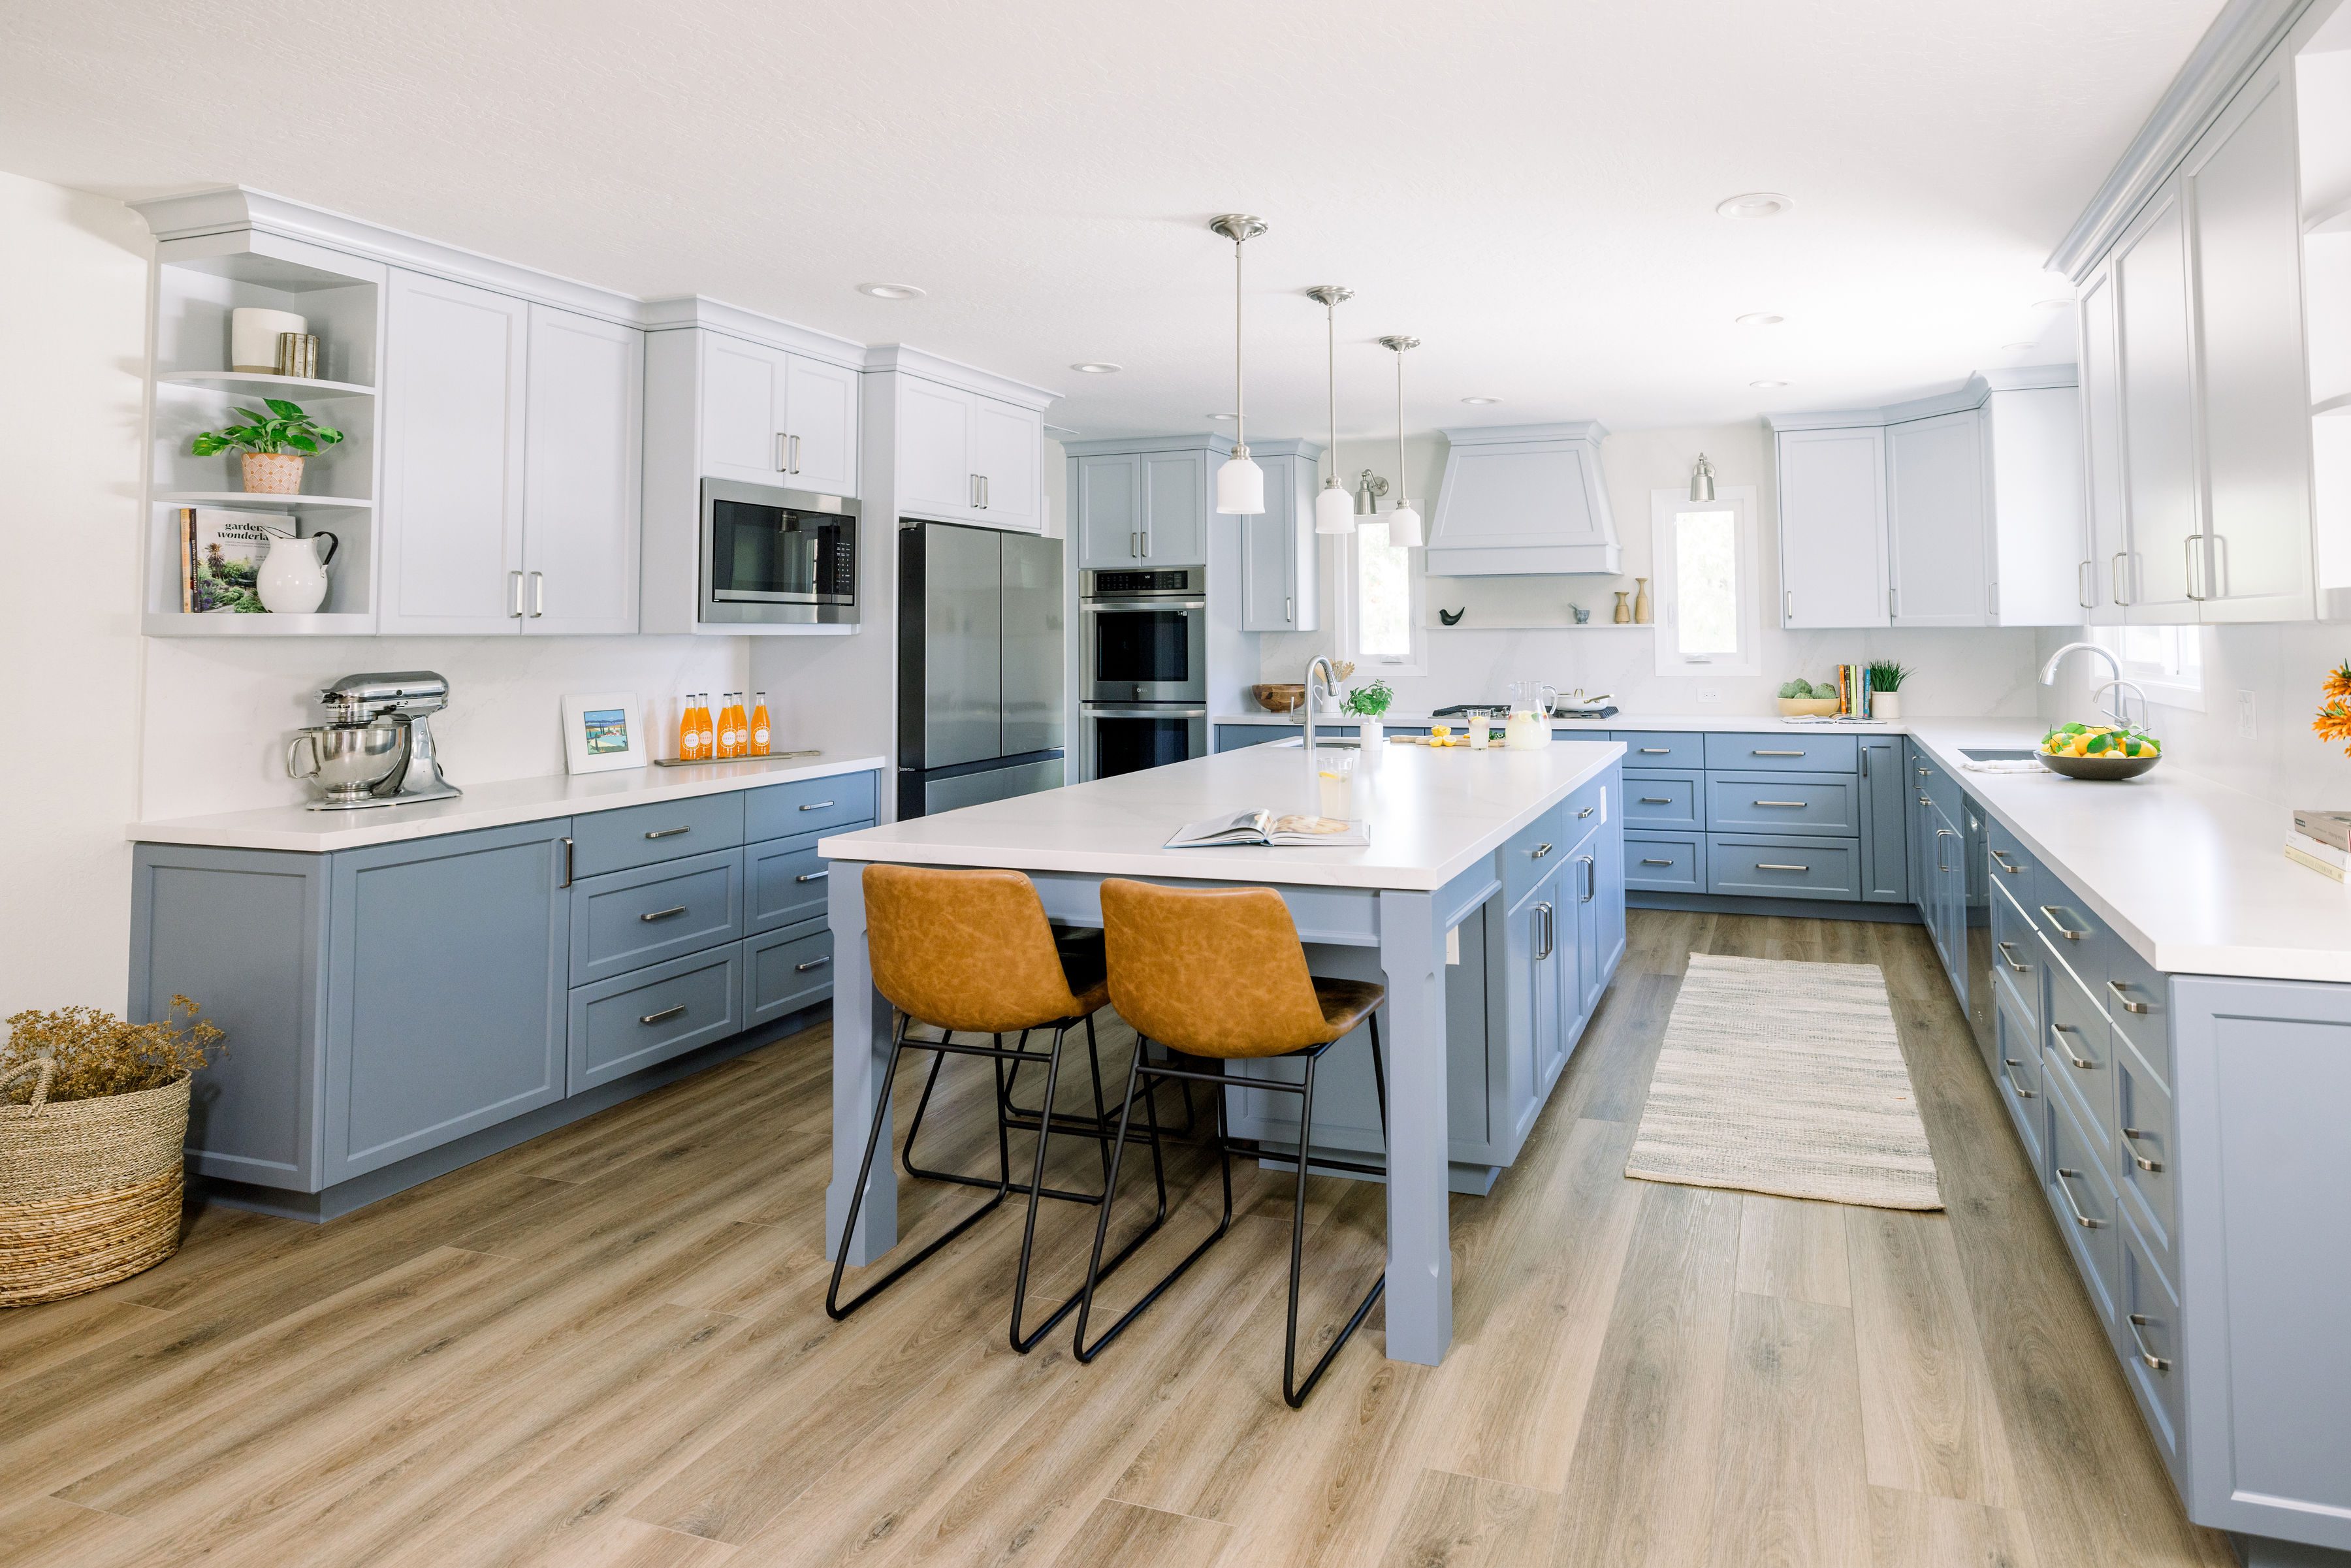
- Layout planning (galley, L-shaped, U-shaped, open concept)
- Cabinet configuration and finishes
- Countertop material selection (quartz, porcelain slabs, natural stone)
- Backsplash design
- Lighting layers (task, ambient, under-cabinet)
- Appliance specifications
- Fixture and hardware selections
This is also when your remodeler prepares engineering plans if you’re removing walls—a common upgrade in older Silicon Valley homes to create open-concept living.

4. Permitting & Pre-Construction
San Jose and other local municipalities require permits for most kitchen remodel steps involving plumbing, electrical, structural work, or footprint changes. Your contractor typically handles:
- Plan submission
- Permit applications
- Scheduling inspections
While permits add time, they ensure your renovation meets California building codes—especially important for resale value in the competitive Silicon Valley housing market.
SEE MORE:
5. Demolition & Site Prep
Construction officially begins with demolition. Crews remove old cabinets, countertops, flooring, and non-load-bearing walls. Proper site prep includes dust protection, temporary kitchen setup guidance, and securing materials.
In many Santa Clara County homes with older plumbing or electrical systems, this phase may reveal necessary upgrades. A good team will communicate changes clearly to avoid delays.
6. Mechanical, Electrical & Plumbing (MEP) Rough-Ins
Once the space is cleared, your remodeler updates framing, wiring, plumbing lines, gas lines, and HVAC as needed. This is especially important in older San Jose neighborhoods where systems weren’t designed for today’s high-power appliances and lighting requirements. City inspections are typically required before moving to the next step.
7. Installation: Cabinets, Surfaces & Fixtures
This is where the transformation becomes visible. Key installation steps include:
- Cabinet installation
- Countertop templating and fabrication
- Appliance installation
- Flooring and tilework
- Lighting and plumbing fixtures
- Hardware and trim
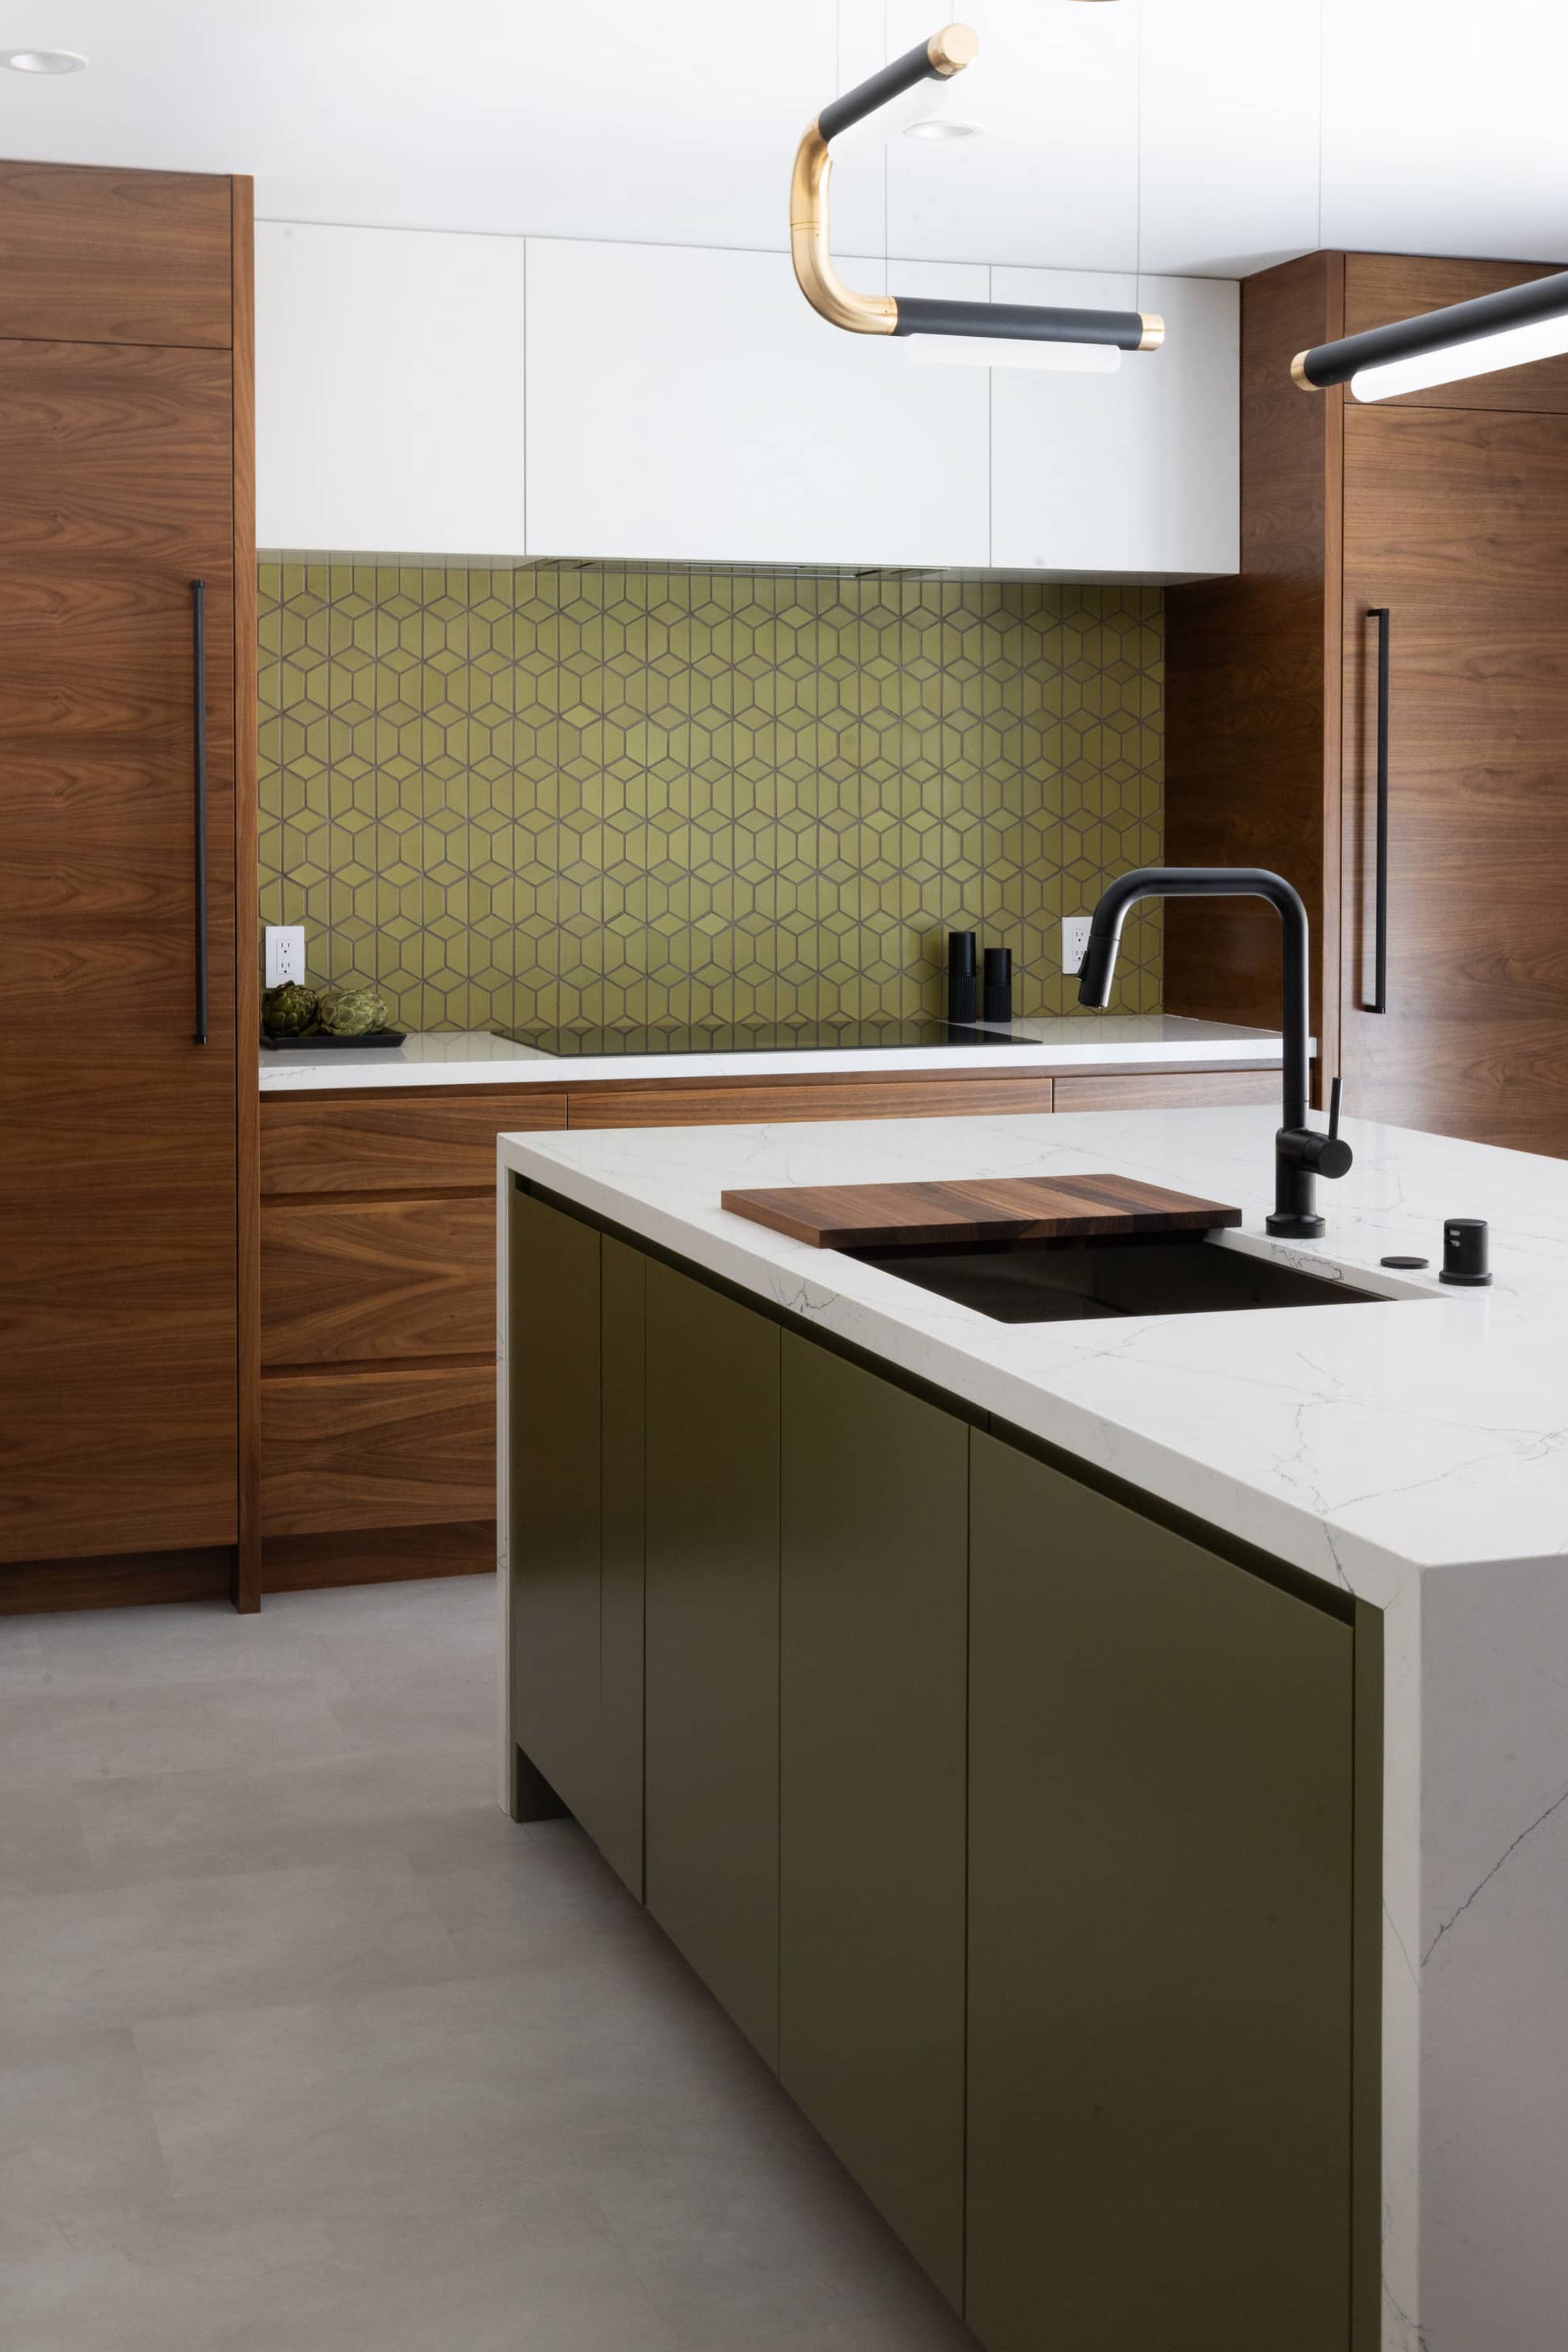
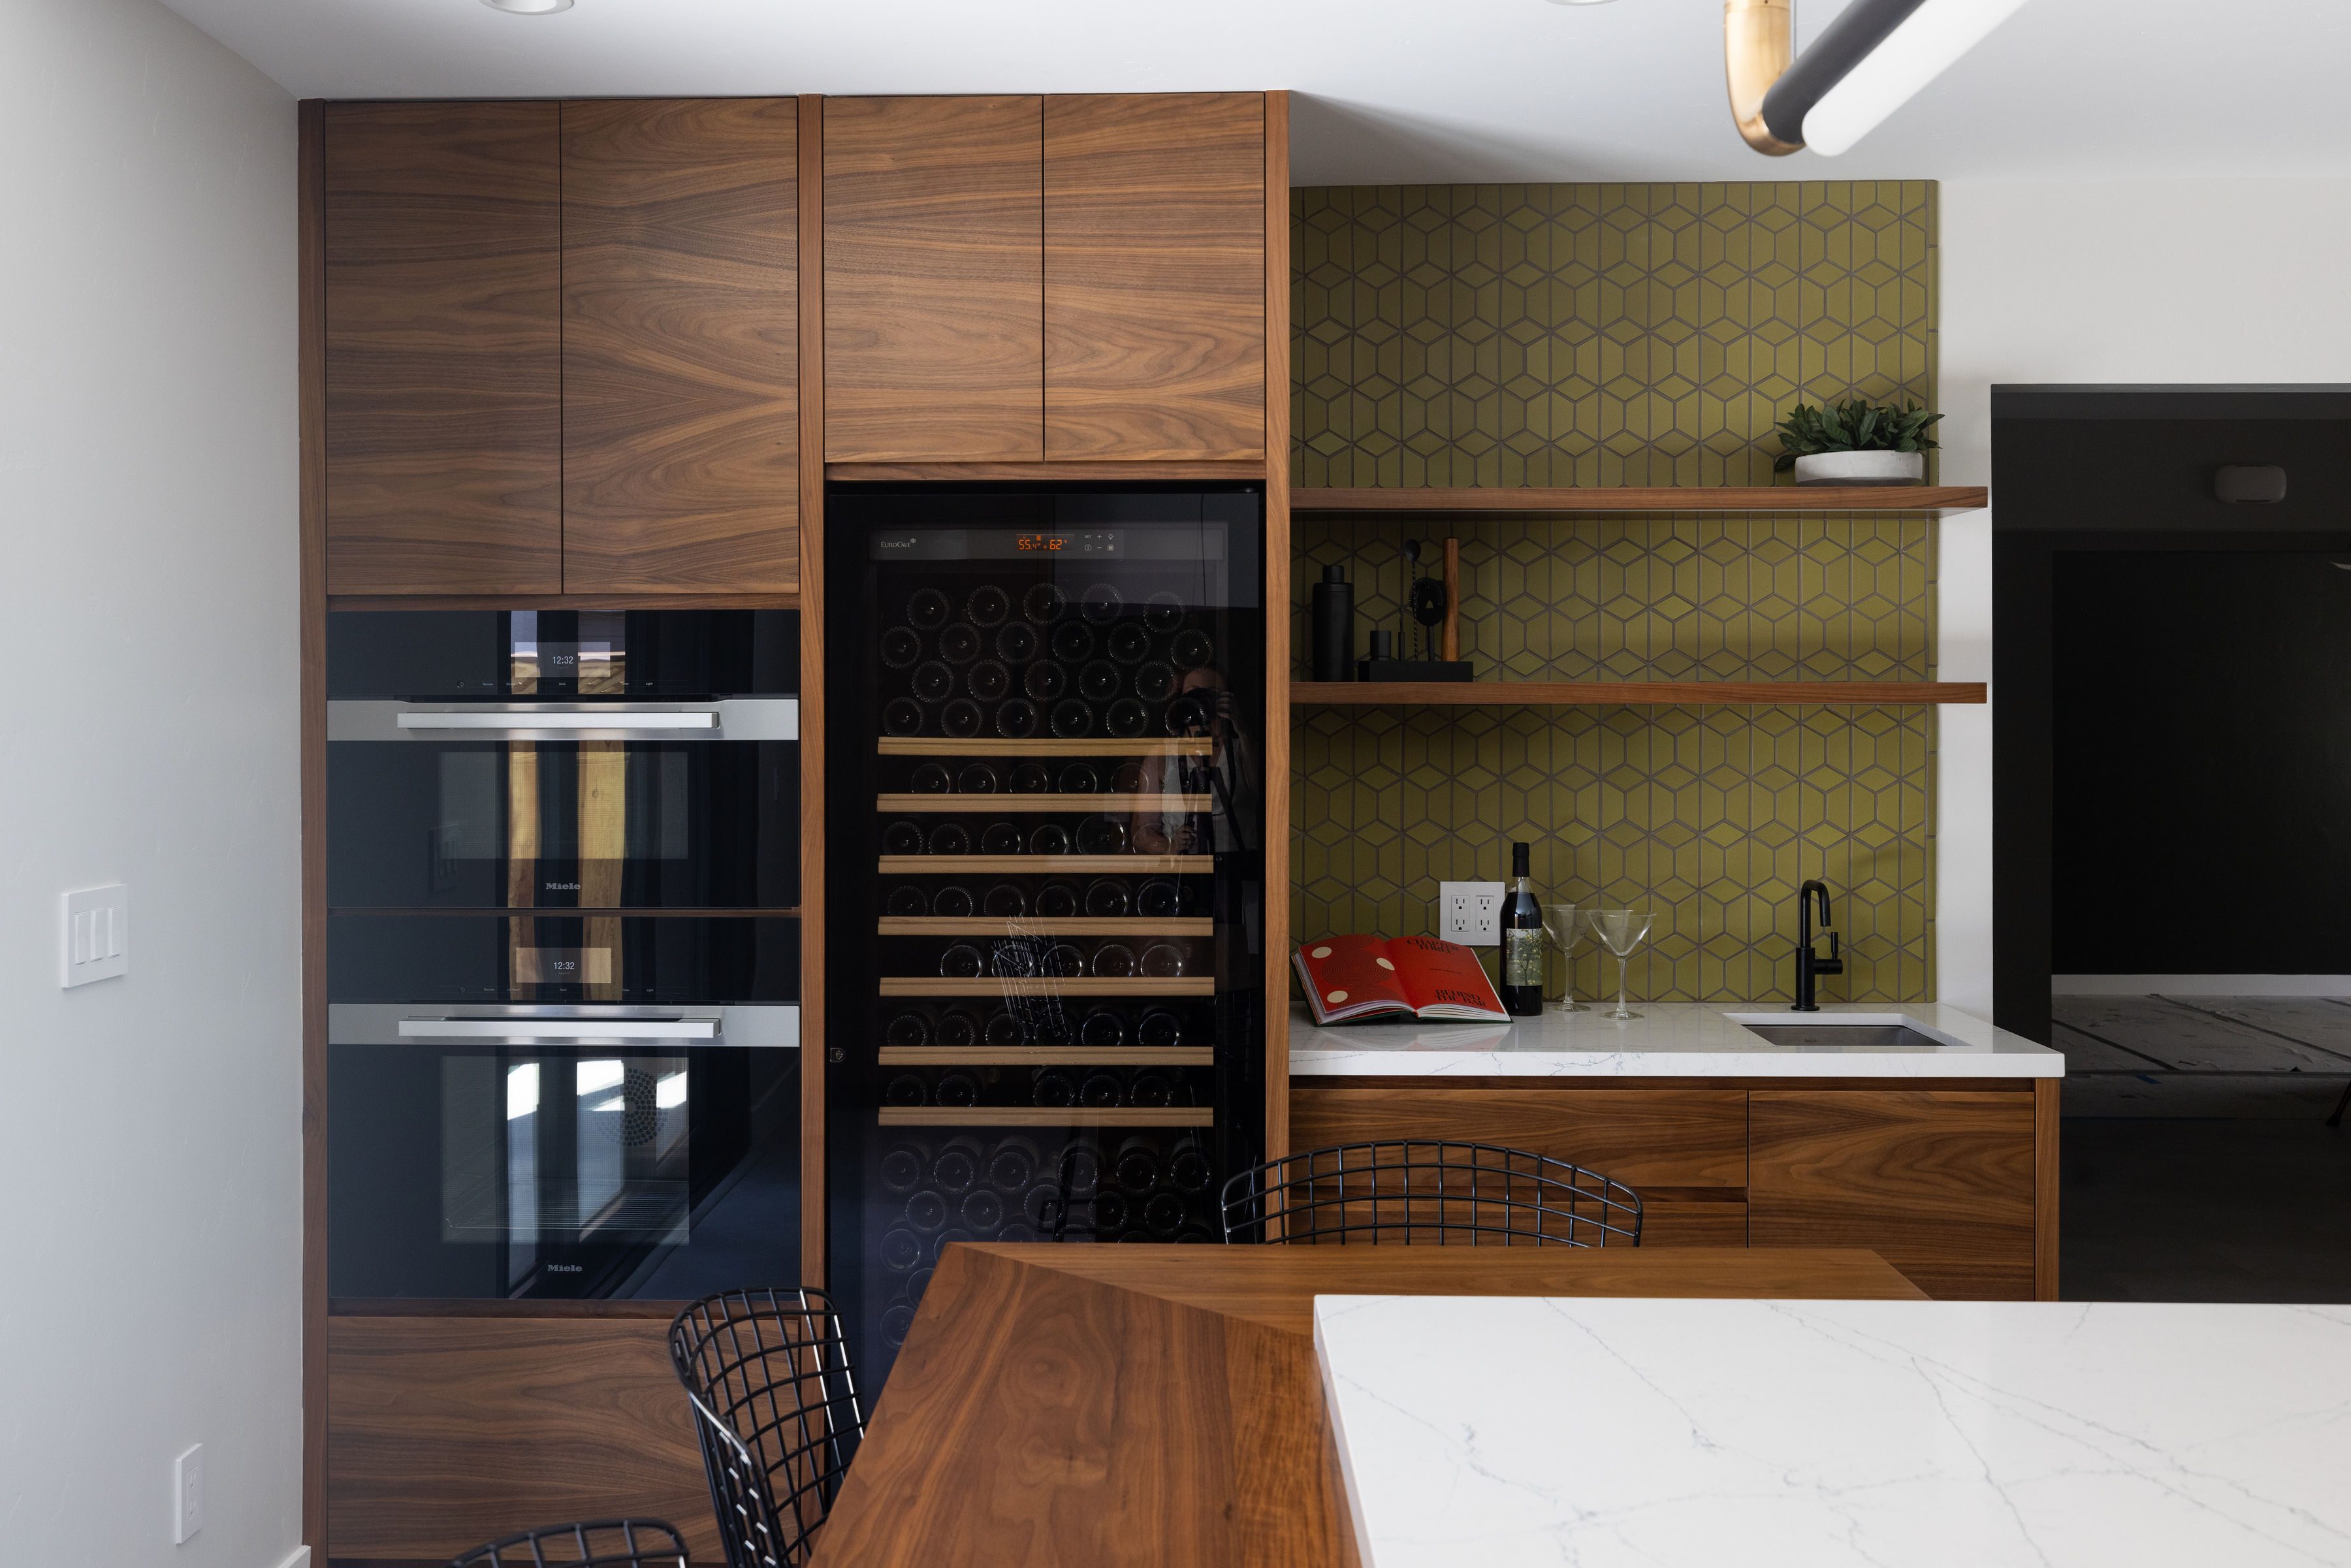
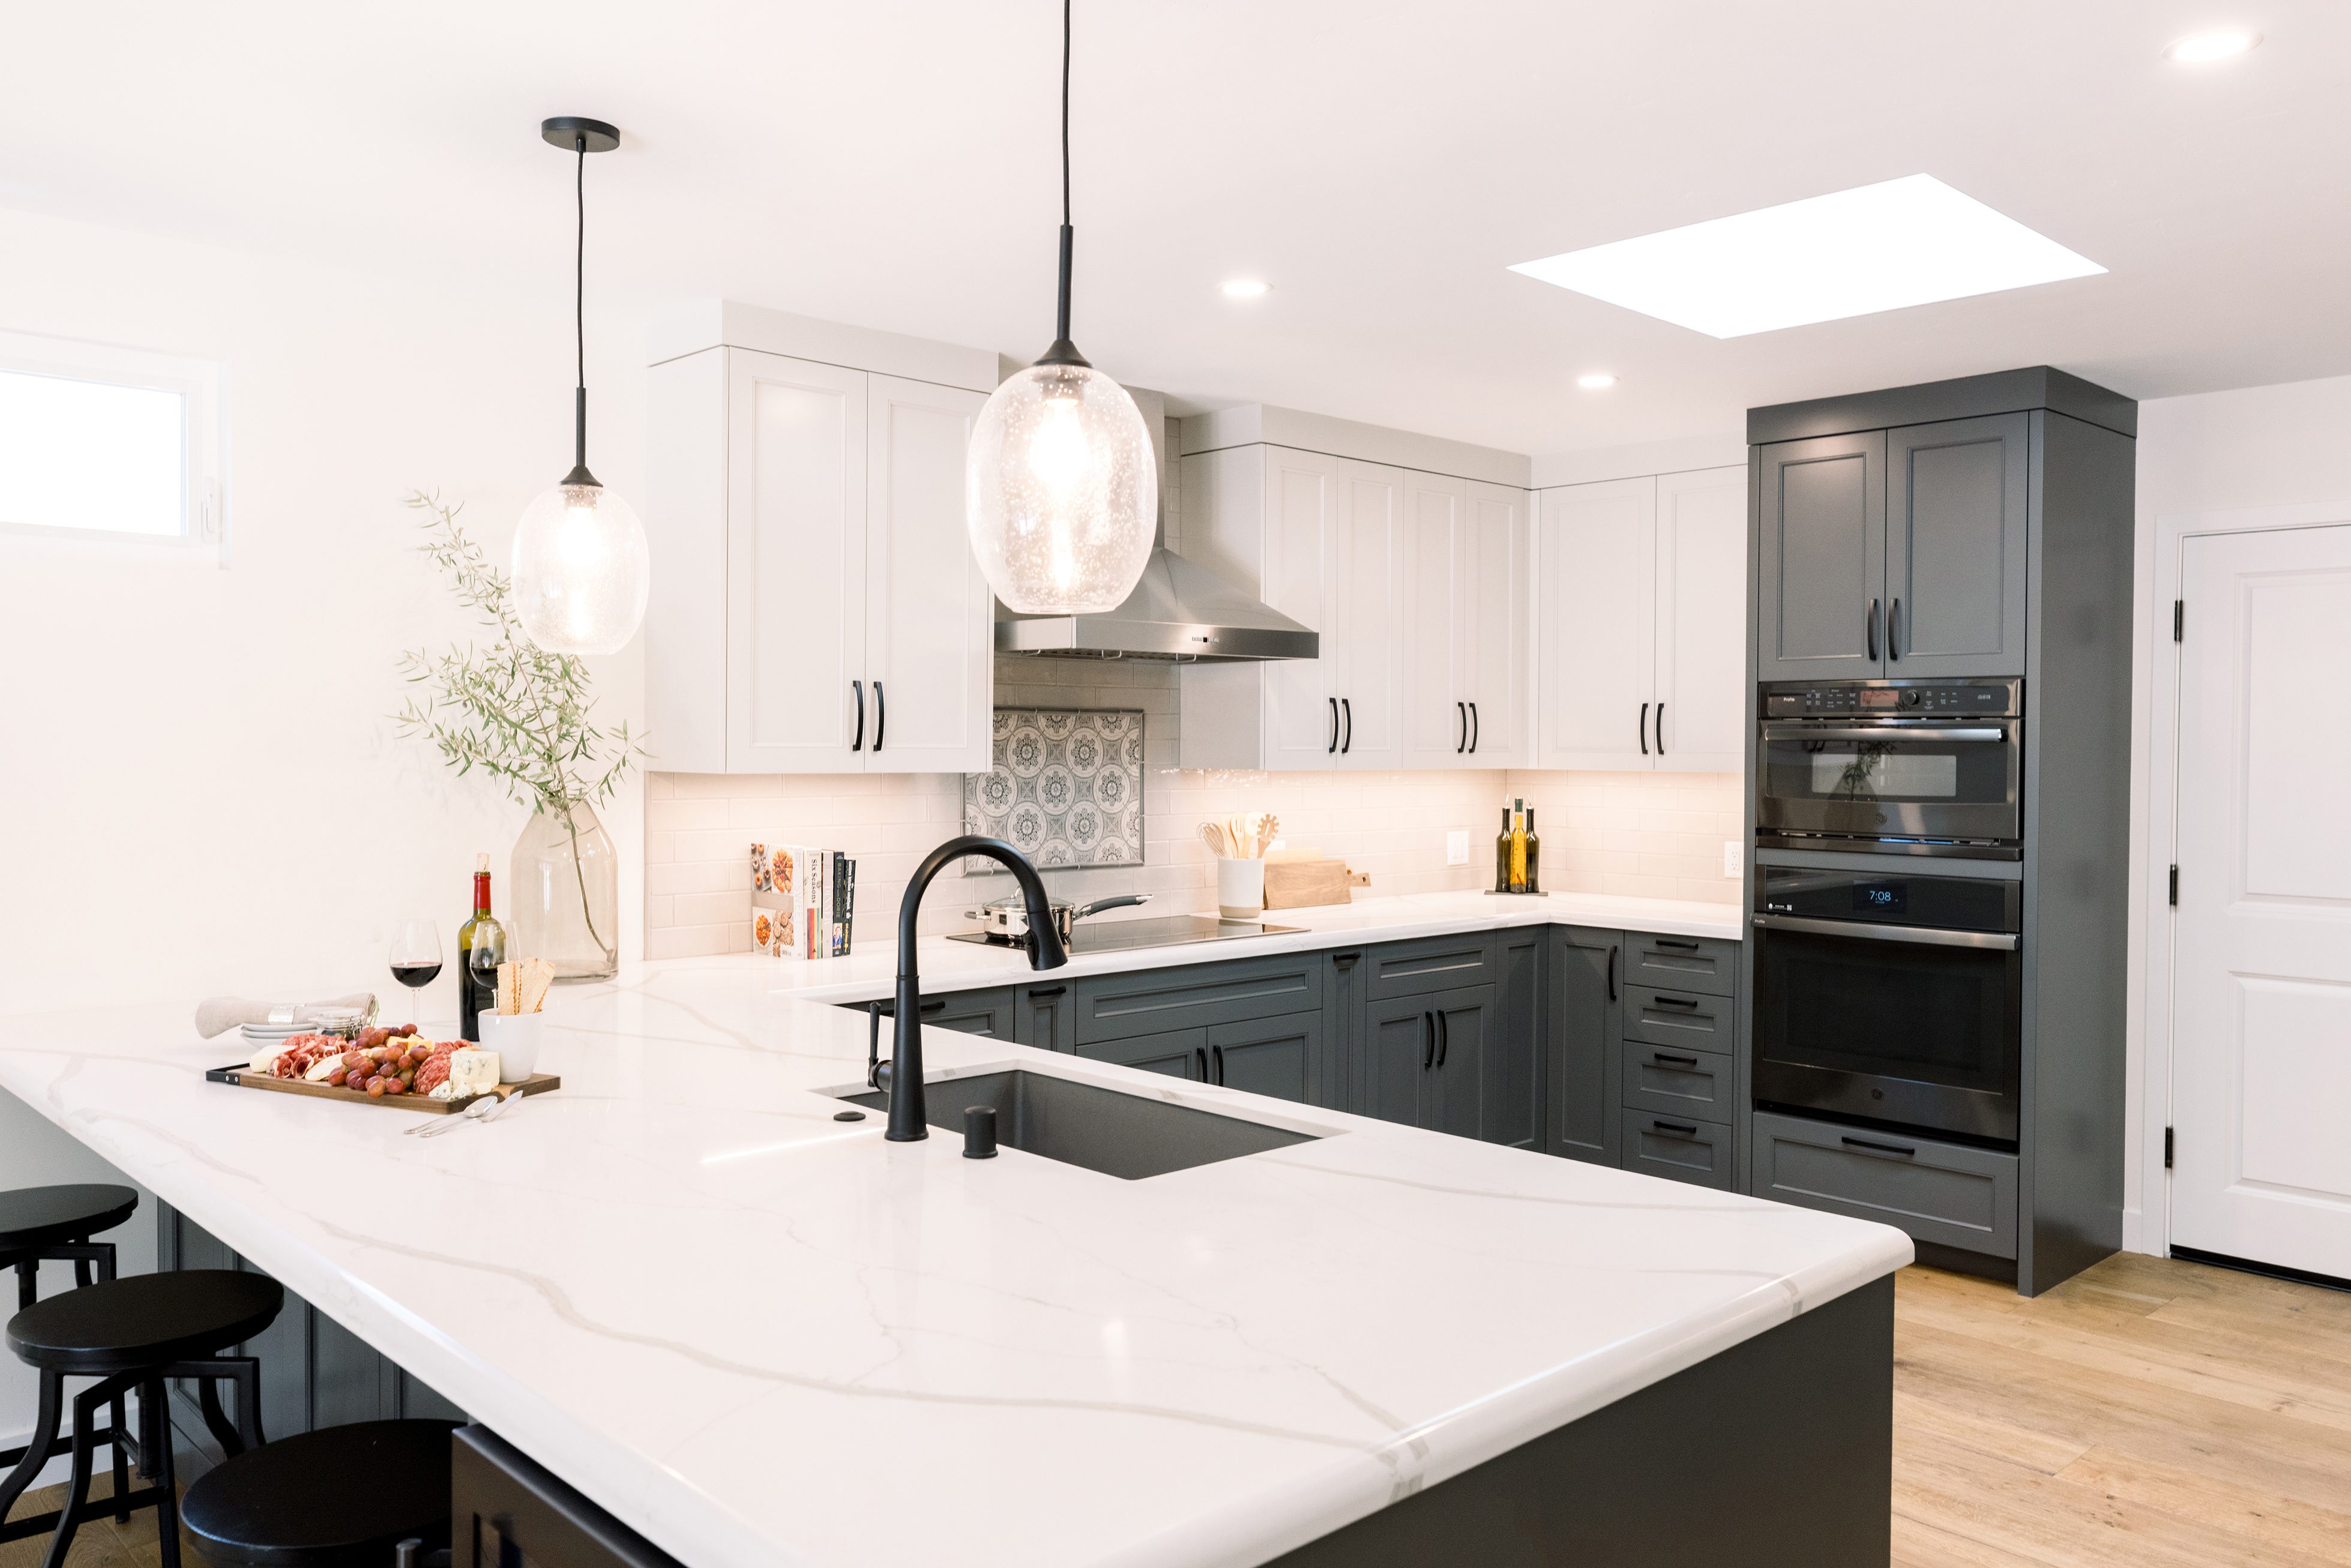
In Silicon Valley, many homeowners opt for modern shaker cabinets, sleek slab-front European designs, waterfall countertops, and integrated appliance panels for a clean, contemporary look.
8. Final Finishes & Quality Checks
The last phase includes painting, touch-ups, final electrical connections, and detailed walkthroughs. Your remodeler will test appliances, verify code compliance, complete inspections, and address any final punch-list items. By now, your new kitchen is not only functional and cohesive but truly aligned with the way you live.
Understanding each step of a kitchen renovation helps you stay organized, make informed decisions, and avoid overwhelm.
By understanding all the kitchen renovation steps—from early planning and budgeting to permits, demolition, installation, and final finishes—you’ll be better equipped to navigate your remodel with confidence.
Whether you’re updating a townhome in Santa Clara, modernizing a Willow Glen bungalow, or redesigning a Cupertino kitchen for a growing family, having a clear process makes all the difference. With the right team and a solid plan, your dream kitchen is closer than you think.